
THE YARDLINE BLOG
The Essential Guide to Closing Irrigation Systems for the Season
As the growing season draws to a close, it’s crucial to prepare your irrigation system for winter. Properly shutting down your irrigation system helps prevent damage from freezing temperatures and ensures that your system will be in optimal condition when you start it up again next spring. Whether you’re a homeowner with a small garden or managing a larger landscape, following these steps will save you time, money, and potential headaches.
Why Proper Winterization Matters
Winterizing your irrigation system protects it from the potential damage caused by freezing temperatures. Water left in the pipes and components can expand when it freezes, leading to cracked pipes, burst fittings, and expensive repairs. By taking the time to properly close down your system, you ensure a smooth and hassle-free start to the next irrigation season.
1. Turn Off the Water Supply
Begin by shutting off the main water supply to your irrigation system. Locate the main shut-off valve and turn it to the “off” position. This prevents any water from flowing into the system during the winter months.
2. Drain the System
Next, you’ll need to drain the system to remove any residual water. There are a few methods for doing this:
-
Manual Drain Valves: Open all manual drain valves located at the lowest points of your irrigation system. Allow the water to drain completely. Be sure to open the valves slowly to prevent any sudden bursts of water.
-
Automatic Drain Valves: If your system has automatic drain valves, they should open automatically when the system is turned off. Check to ensure they are functioning properly.
Blow-Out Method: For more thorough drainage, especially in systems with multiple zones, you might need to use an air compressor to blow out any remaining water. This method involves connecting the compressor to the irrigation system and forcing air through the pipes to expel water. Be cautious and follow manufacturer guidelines to avoid damaging the system.

3. Remove and Store Hoses
Disconnect all hoses from the system and drain them thoroughly. Coiling them loosely and storing them in a dry, cool place helps prevent kinks and damage. If you have any soaker hoses or sprinklers, remove and clean them before storing them as wel
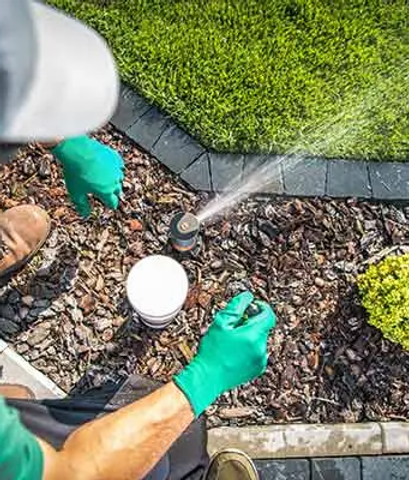
4. Clean and Inspect Components
Take the time to clean and inspect all components of your irrigation system:
-
Sprinkler Heads: Remove and clean sprinkler heads to ensure they are free of debris and any clogs. Inspect them for any damage and replace as necessary.
-
Filters and Nozzles: Clean filters and nozzles to maintain efficient water flow. Replace any worn or damaged parts.
Drip Irrigation Lines: Flush out drip irrigation lines to remove any sediment or blockages. Inspect emitters and tubing for any signs of damage.
5. Review and Plan for Next Season
Take this opportunity to review the overall condition of your irrigation system. Make a list of any repairs or upgrades needed for the upcoming season. Planning ahead will help you get a jumpstart on any necessary maintenance come spring.
Final Thoughts
Closing your irrigation system properly at the end of the season is a critical step in maintaining its longevity and efficiency. By following these steps, you’ll protect your investment, avoid costly repairs, and ensure that your system is ready to perform optimally when the growing season begins again. Need help? That’s where we come in! Yardline Irrigation is scheduling fall blowouts now, so give us a call today!